CNC Machining and Molding and Casting
25th July 2023
Concept
This week we learned how to use a CNC mill and router. The difference between the two is pretty important:
- CNC Mill: they have a greater Z-axis movement, allowing them to make deeper cuts. Very good for cutting rigid materials accurately, but generally have a pretty low workpiece surface. Usually used for 2.5D cuts (can only cut half of a sphere).
- CNC Mill: Very good for cutting relatively soft materials such as wood or aluminum, generally has a big workpiece surface. Used mainly to cut 2D shapes, as their Z-axis movement range is much lower
The second thing we learned this week is molding and casting. So for this assignment, I am going to try to cut a wax block into my face using a 3D scanner and a CNC mill, and then use that wax mold to create a mold for casting.
3D Scanning my face
On week 5 I played around with the RevoPoint 3D scanner, but was not able to fully scan my face. However, the mold I want to create for this week's assignment only requires the front of my face, so it shouldn't be too hard to scan.
I opened the RevoPoint software and started trying to scan my face. After a few attempts, I finally got a good result.
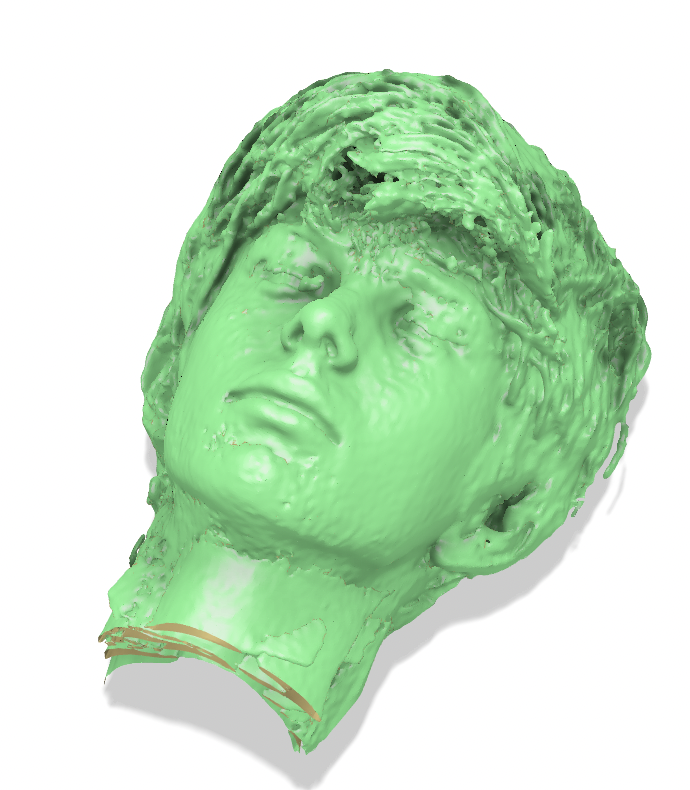
It took around 2 minutes to transfer the exported file from the computer where the software is to an SD card, which at the moment didn't mean a lot, but would explain a lot later...
After importing the STL model in fusion, the first thing I tried to do was to scale the model down, as the file we need to feed the CNC Mill needs to have specific dimensions (especially depth, we'll talk more about that later). As soon as I tried to scale down the 3D mesh, Fusion360 stopped responding and I was forced to force quit the application. Thinking it was just a random error, I tried the same things a few more time, but got the same outcome every time. I then tried to use the reduce tool in fusion, as I suspected the mesh had maybe too many triangles, but that crashed Fusion aswell. I then found out that the mesh had 1,135,674 faces! This geometry can easly be handled by a program designed to do so, but Fusion360 is definitely not. The waiting time when transfering the file to the SD card can therefore be explained by the huge amount of information in the STL file.
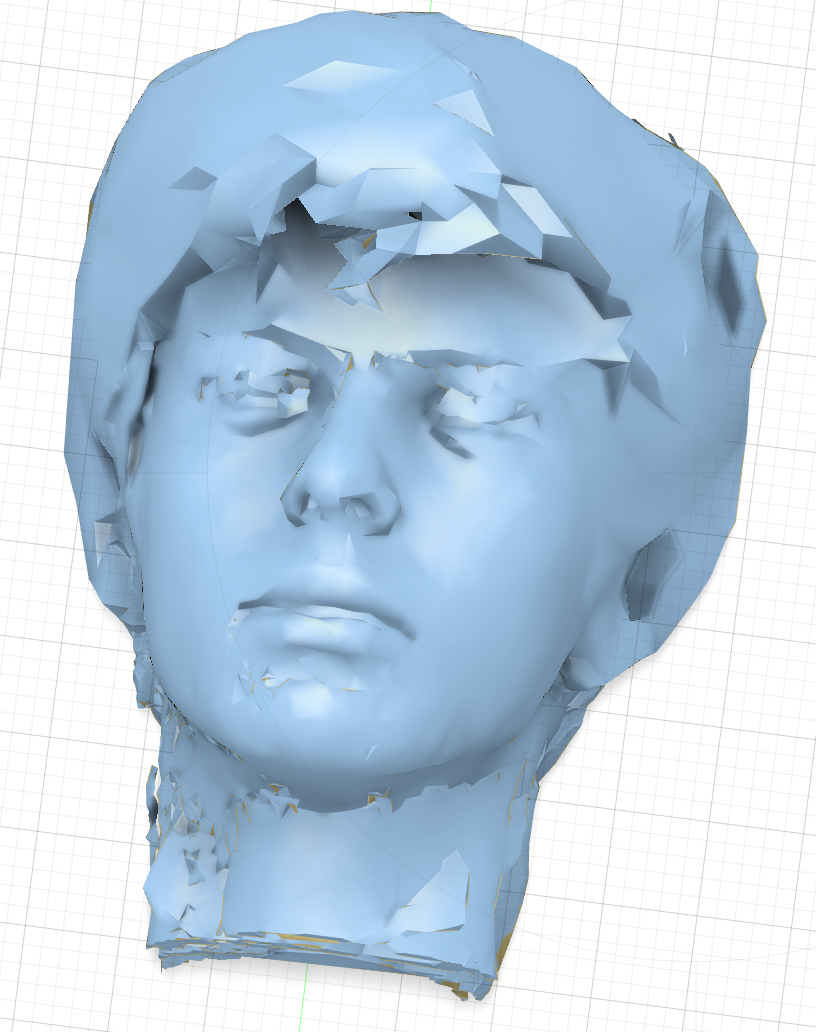
I was unable to reduce the mesh size using Fusion360, so I resorted to Blender. I didn't have any previous experience using Blender, but what I needed to do was not a very complex task, so I just googled how to do it. I first tired using something called Decimate Modifier, which is very useful to simplify the whole geometry of a mesh without loosing too much quality. However, while trying to find a good value, I realized that most of the "useless" geometry was found in my hair (which makes sense), so lowering the geometry a lot would result in a very detailed hair and a very poly-looking face, which was not what I was looking for. So with some help of the internet, I found a solution on StackExchange which was exactly what I needed. I used a brush tool to only "simplify" the areas of the mesh I wanted, which was the hair. This resulted in a model that looked pretty much the same, but had less than
Click here to download the .stl file
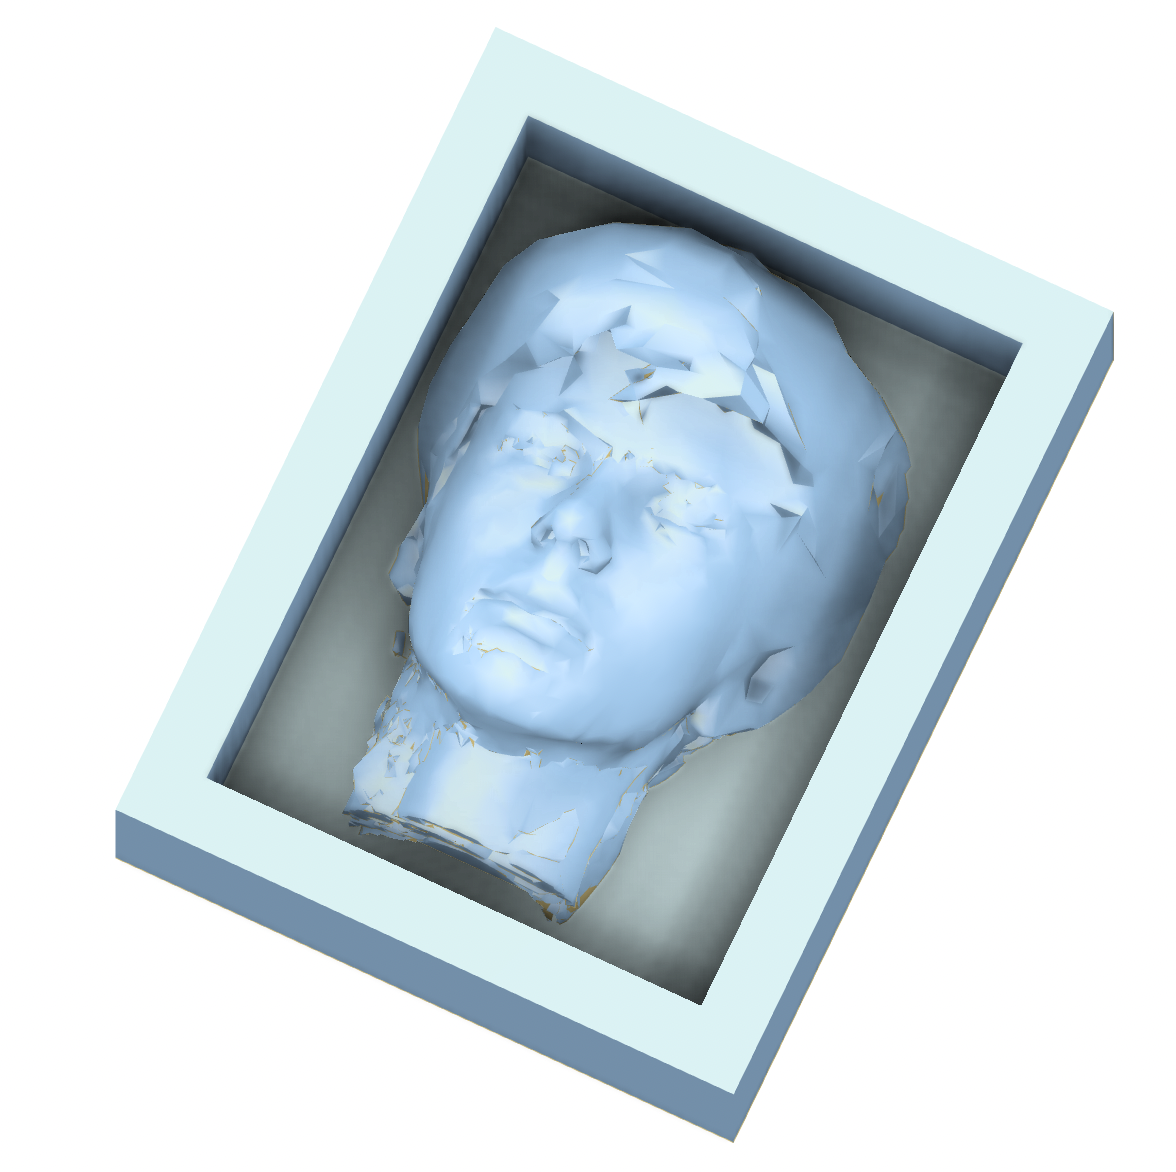
The next step was to figure out the dimensions for the stl model we are going to give to the CNC mill. We are going to use a 1/16 inch drill bit so we have a fair amount of detail, and the ones we have at the lab have a deptch of around 12 mm, but after some testing, it turns out that the best maximum depth that always seems to work is 10 mm. The model has a depth of around 25 mm, so I was forced to strech the model quite a lot, which resulted in something less "3D" than I expected, but still looks good. I then wrapped the whole thing in a box by first creating a solid box, and then used the shell tool to make it hollow. The final STL file is 30x39x9.413 mm.
Click here to download the .stl file
CNC Milling
The CNC mill we are going to use is a SRM-20, and we are going to use machinable wax. The setup of the mill will depend on each machine, so we are not going to get into how to do it. If you are interested in knowing that, google the name of your CNC mill and I'm sure you'll find a lot of tutorials.
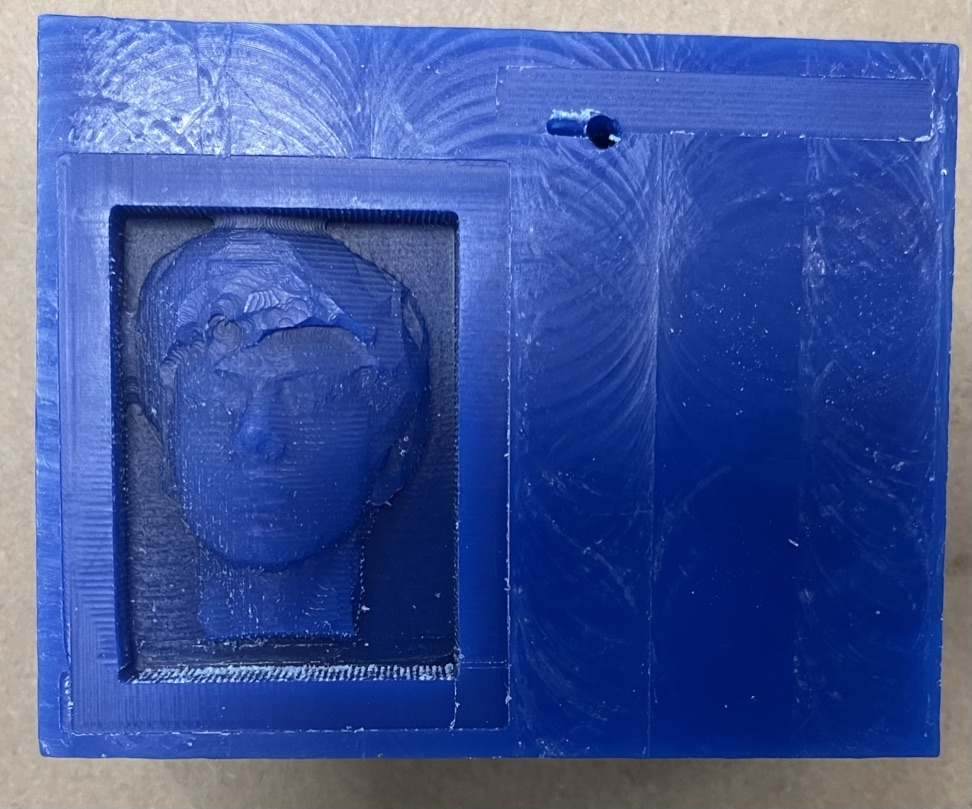
The light-blue material is residue from the wax block, which does not let us see the actuall drill
Even though the result is pretty small, it has an incredible level of detail (and it could've had even more if we had used a 1/32 inch drill bit!):
Molding and Casting
Now that we have the positive of our mold (wax block), we are going to use silicon to create the negative, in which we will then cast different materials to create copies of our initial object (my face).
I used an Oomoo silicone rubber compound and poured it into the was block. When doing so, I tried to be as careful as possible to avoid having air bubbles, but unfortunatly was not very successful, as you'll see in the image below.
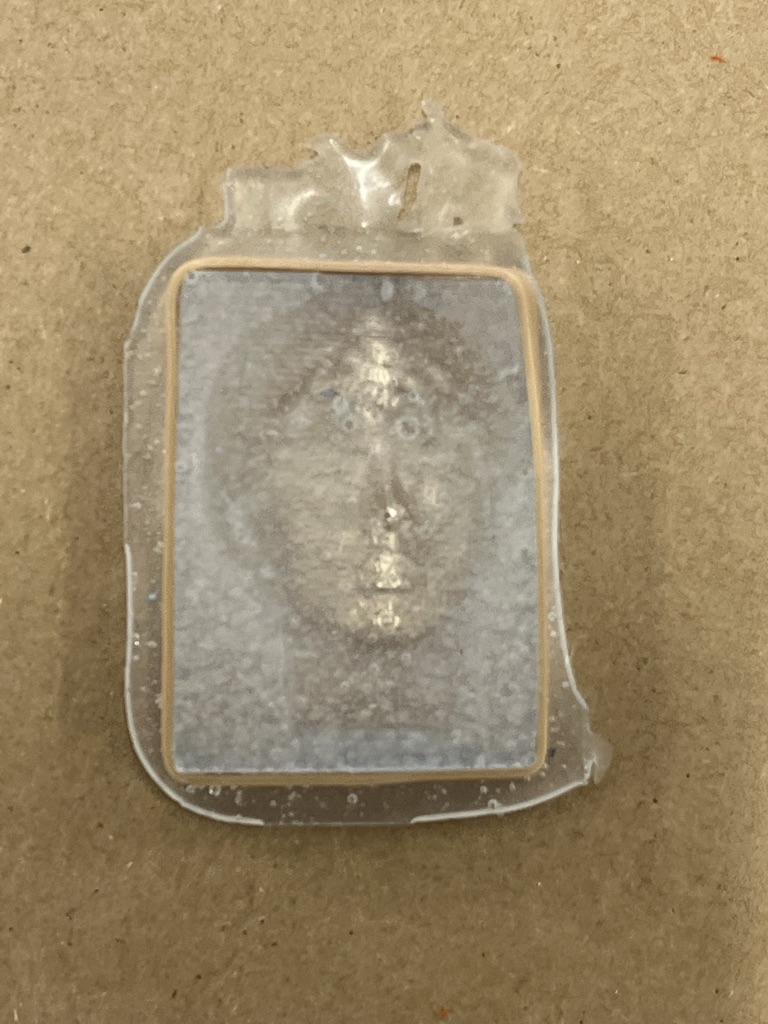
The walls of the mold were a little bit too thin in some parts, so I added a rubber band to make sure the mold would contain the material we would use for casting.
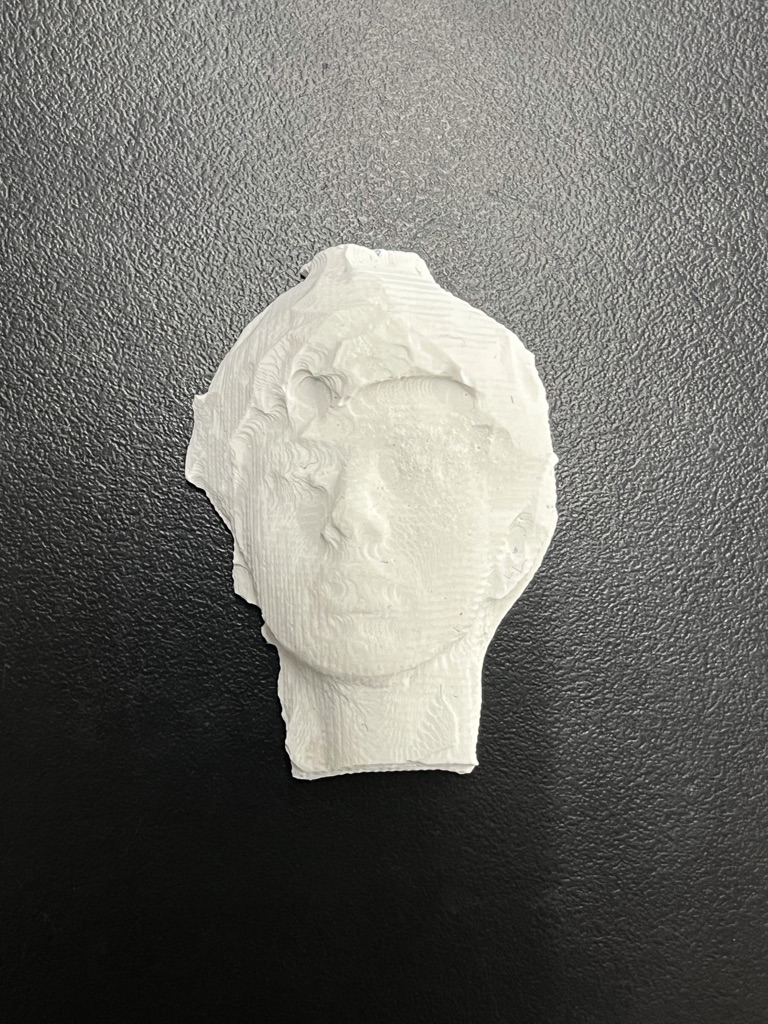
I first used plaster to cast to cast my face. It only took about 15 minutes to dry, which really surprised me. Besides, the result looks good, and some of my friends said it looked like an ancient greek statue, which is pretty cool!.
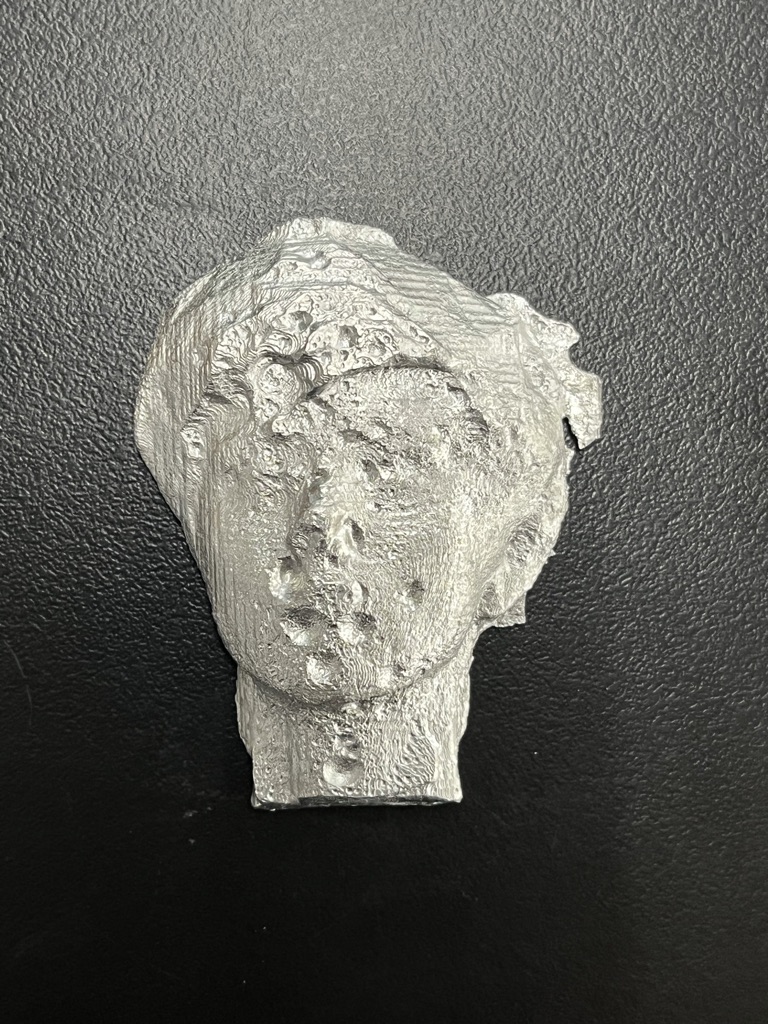
Then, with the help of a TA (Ibrahim), I melted some metal that was laying around in a furnace, and was able to cast it into the mold with no issues. The setup was a little but suspicious, but it ended up working (although it had a LOT of bubbles).
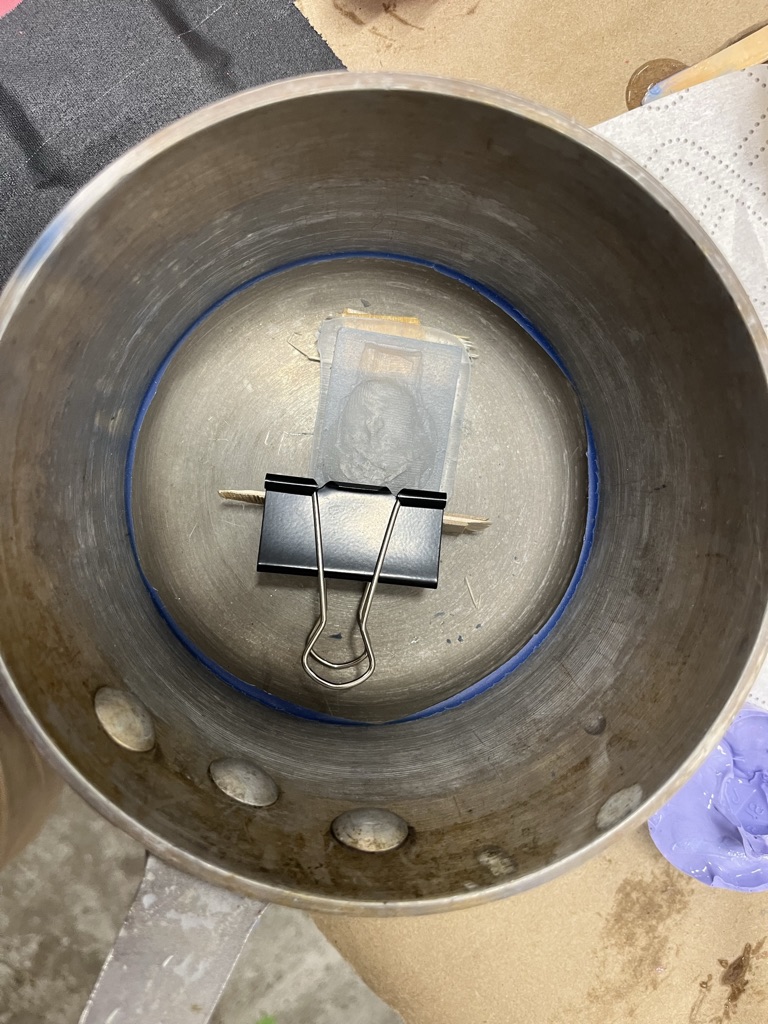
The setup to cast metal
Conclusion
All in all, I had a lot of fun working on this project, specially when casting my face. Casting is definitely very useful when you have to create a lot of copies of a single object, but can take a long time to get right (mainly due to air bubbles, as you can see above unfortunately).