Laser cutting: visiting Paris with cardboard
24th June 2023
Concept
Laser cutting is an extremely useful technique to cut simple materials, such as cardboard. This week, we learned how to operate a laser cutter and were assigned to create a press-fit construction. To accomplish this, I decided to use a CAD software called Fusion360. I already had experience using it, and the only way to do parametric accurate modeling in the other software option, Blender, is by using the addon CAD Sketcher. CAD Sketcher is an extremely new tool, and while it is true it has a huge community supporting it, I don't think that it has enough features to be used in big projects.
After choosing which software I was going to use, I modeled some simple press-fit squares to know how much material the laser burns when cutting through cardboard. This is called laser kerf. I found out that a good value for the laser kerf was 0.8 mm, which is less than I expected it to be. This meant I had to make my press-fit joints smaller than I initially thought.

Click to download the .STL File
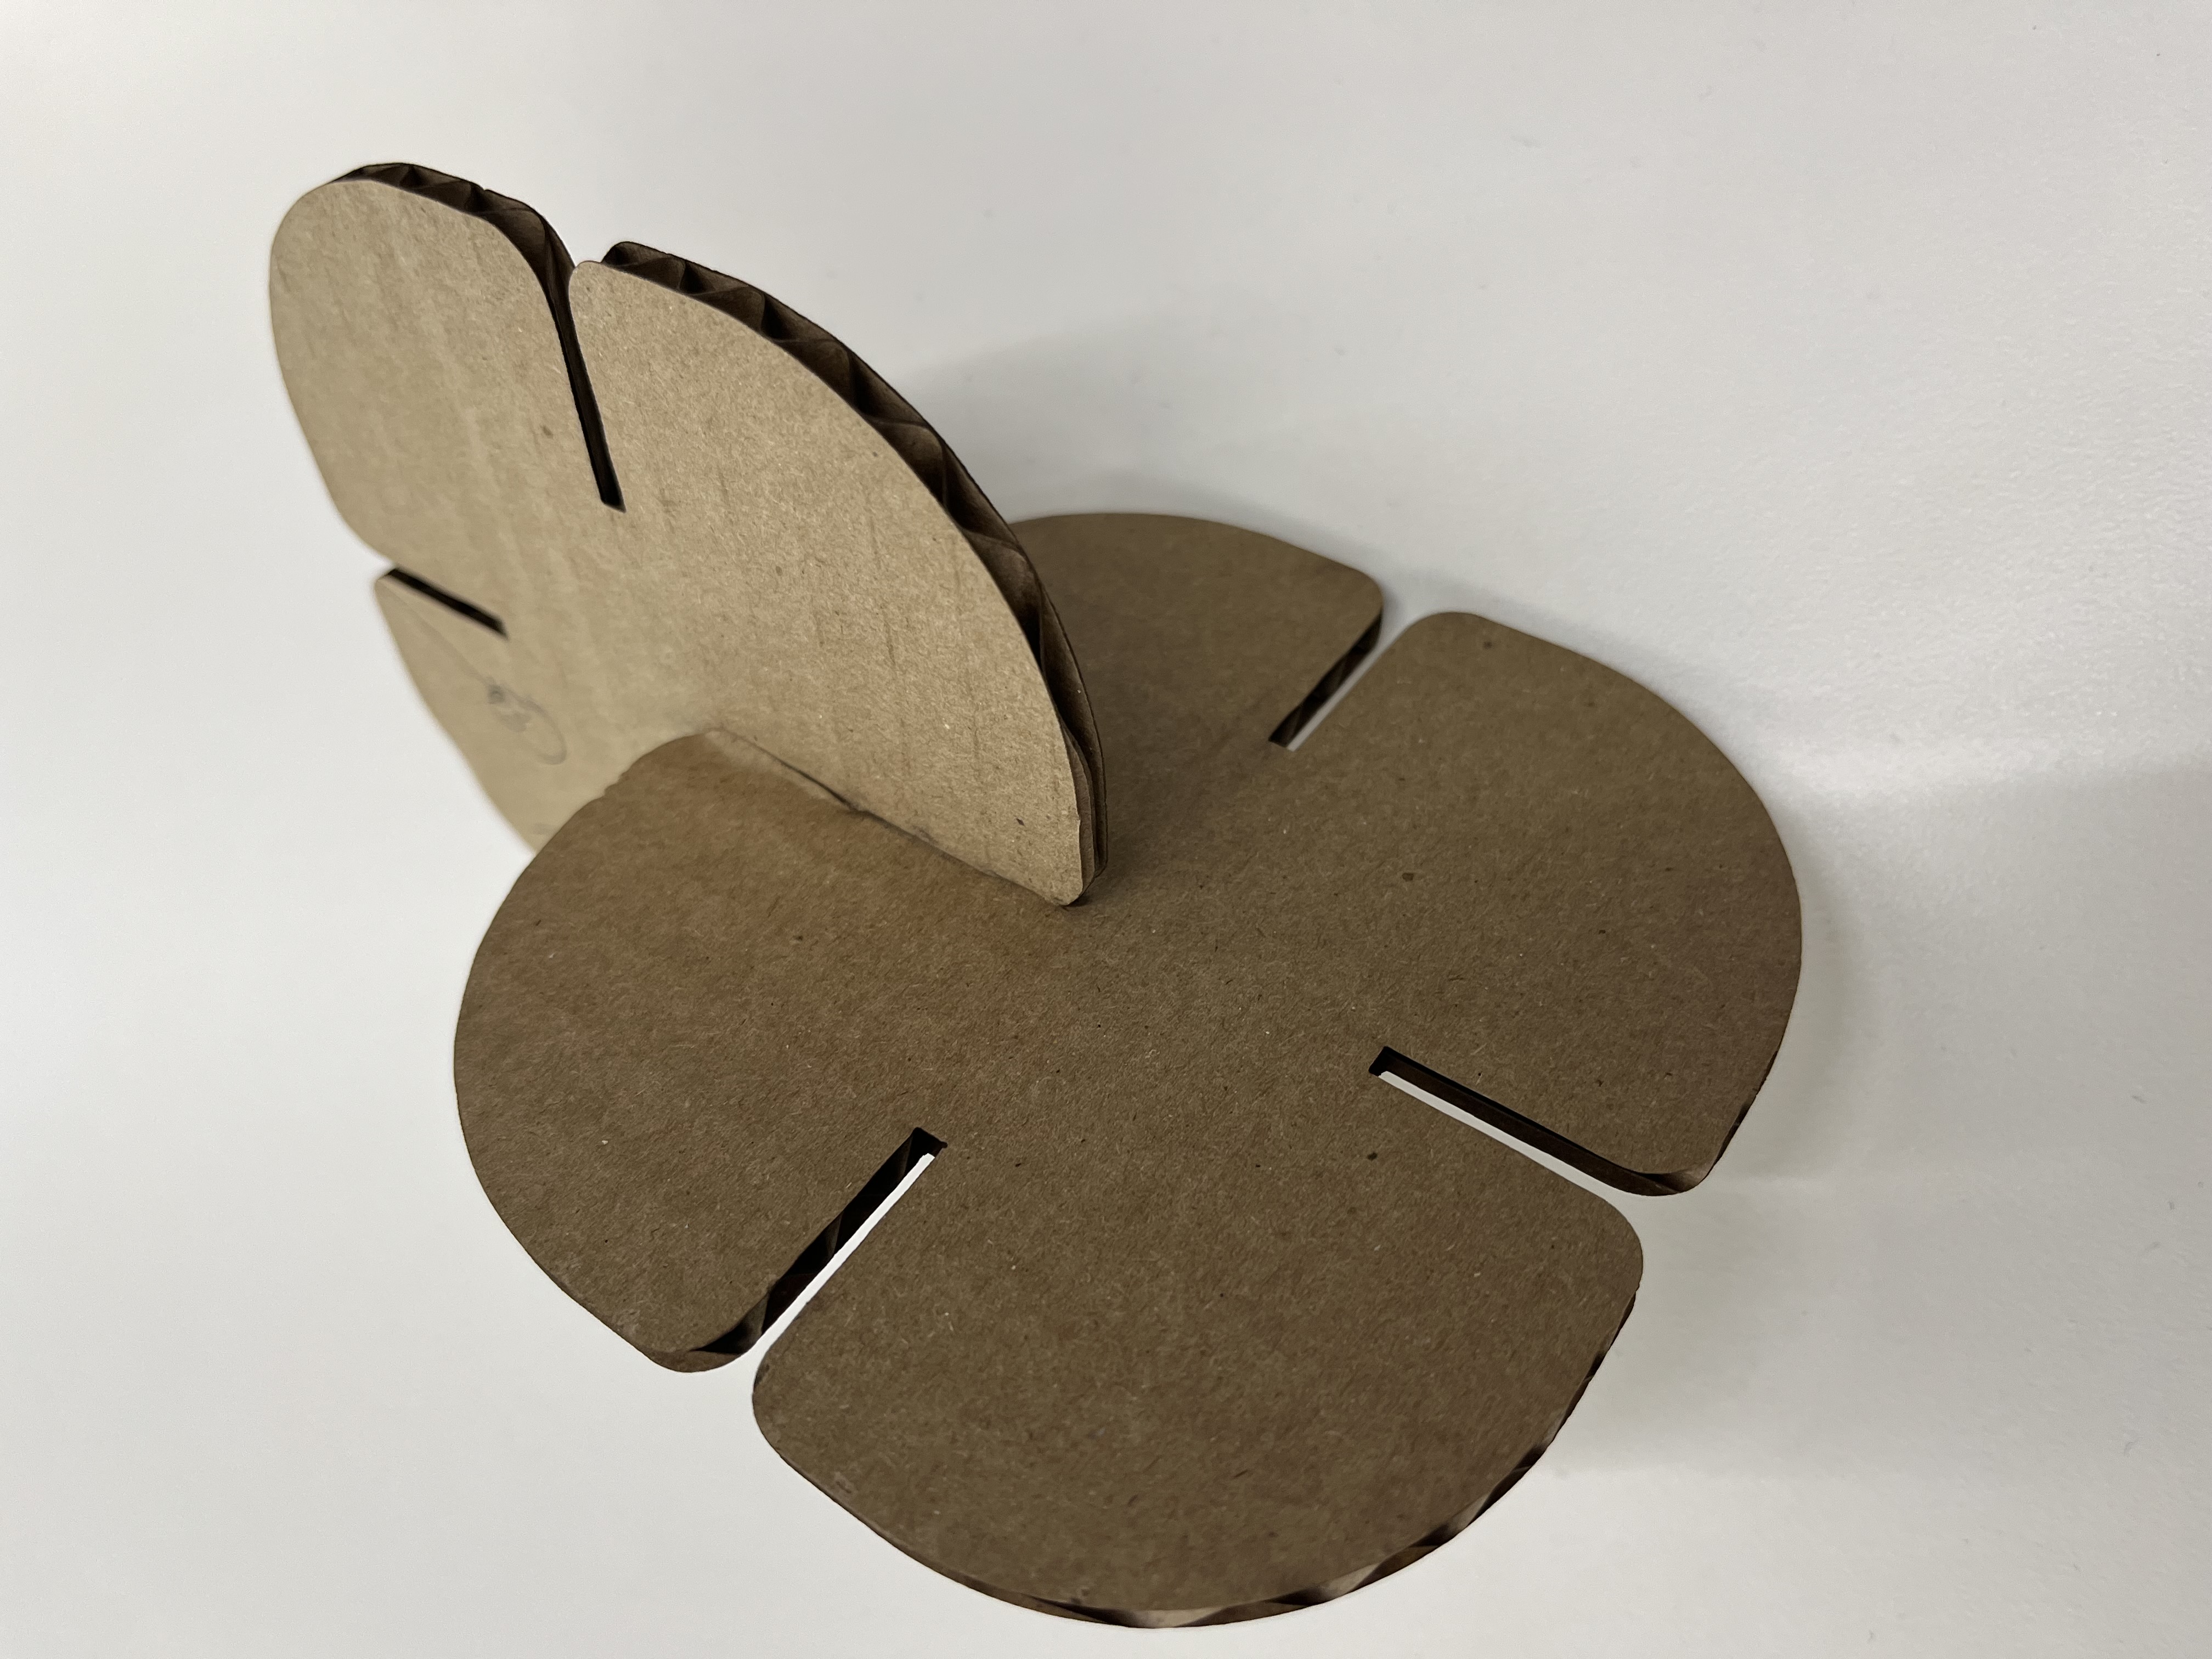
As you can probably see in the joints, the cardboard is slightly bent, and I had to do some force to get them to fit together. While that can be good for long-lasting designs, it is not what I'm looking for. After disassembling and assembling it a few times, the cardboard would probably break.
Later on, I started thinking about what kind of press-fit "structure" I was going to create. At first, I thought about doing something like a puzzle, but then I decided to go for something much more unique: the Eiffel Tower. I looked up some sketches online and decided to start modeling.
Modeling
The first thing I did was to search online for a reference image. I don't intend the model to be identical to the real Eiffel Tower, but I do expect it to look alike.

I then began to think about how I could join the different parts of the structure. The best idea I came up with was to cut 4 separate "legs", and then join all four of them using press-fit squares placed in between them. I used splines to model the legs, which made designing them really easy. You can see the layout of the design below.
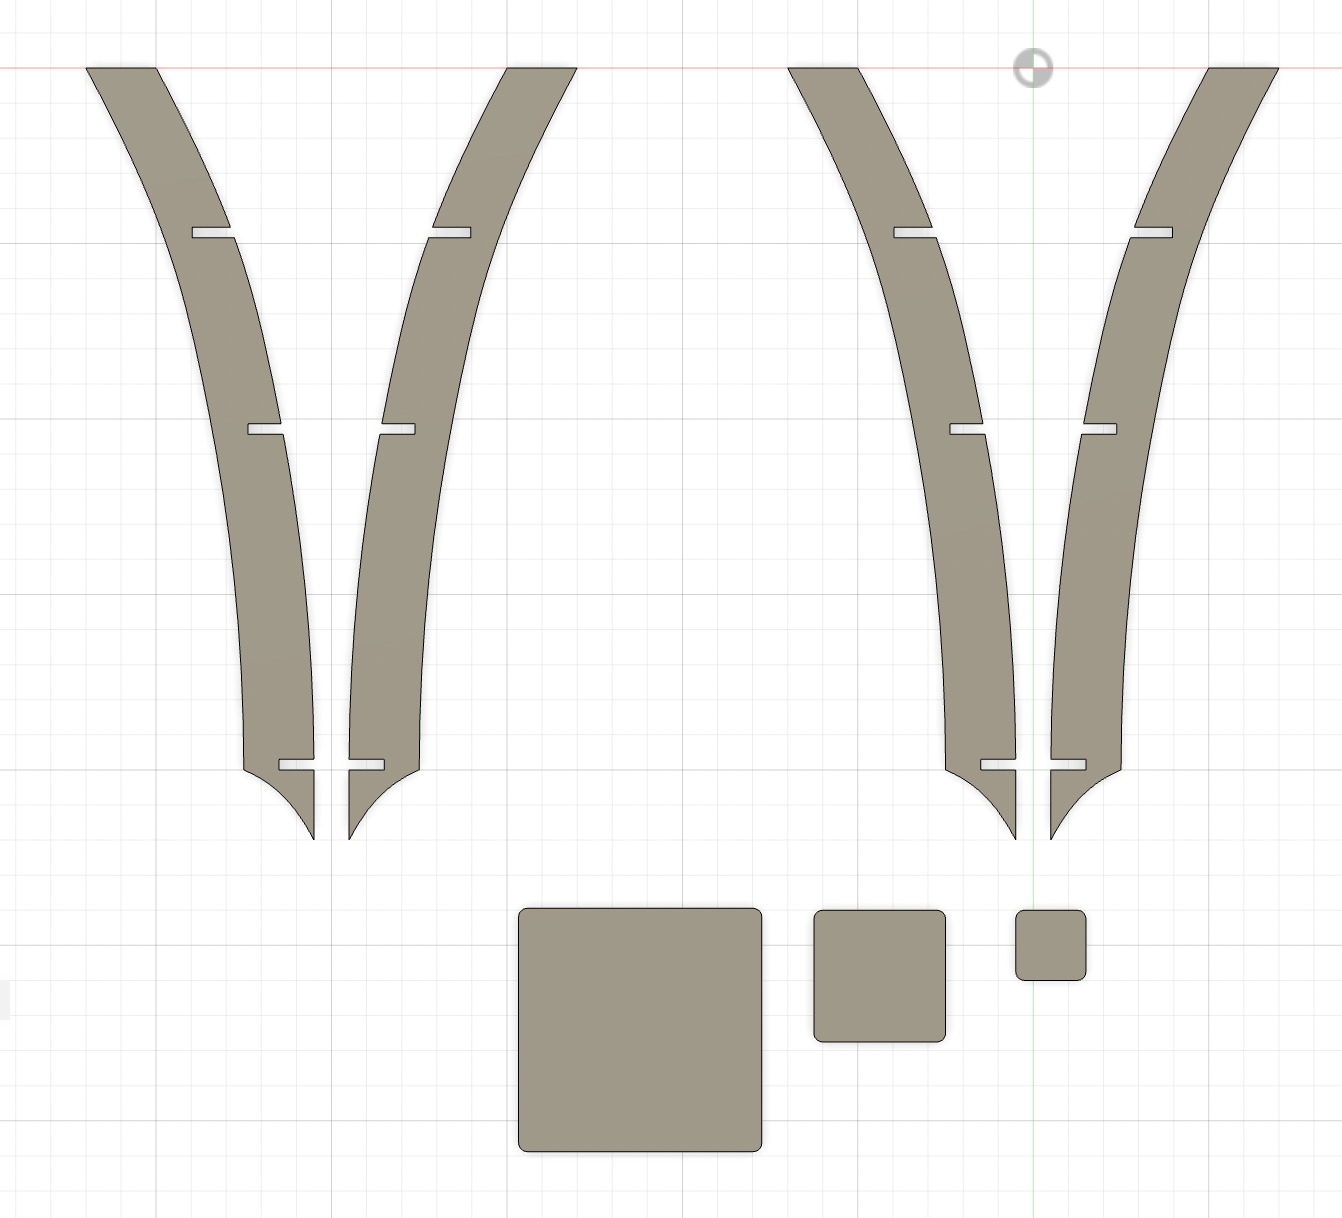
Click to download the .STL File
Laser Cutting
After finishing the design, I exported the sketch as a .dxf file and loaded it into the laser cutter's computer using an SD card. The next step was to send it to the actual laser cutter, and then finally, chose the point in space where it should start cutting (to avoid cutting outside the cardboard, which would be a pretty bad thing!).
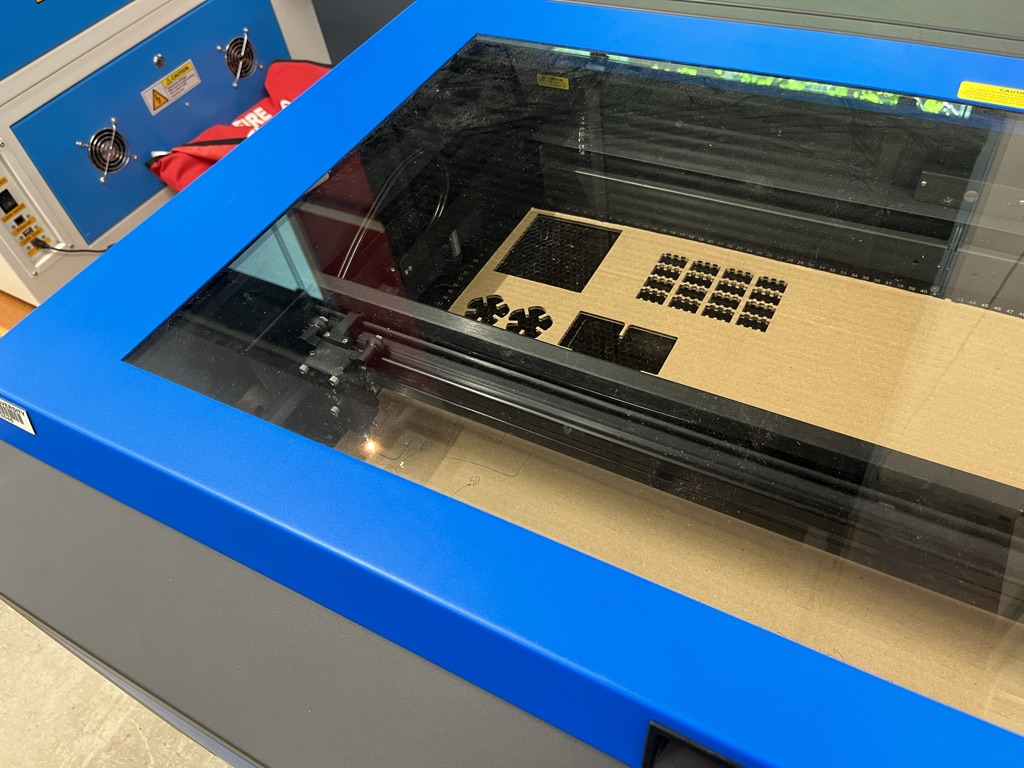
Picture of the laser cutter
The moment I got the pieces out of the laser cutter, I realized that I should have made the design bigger. I designed the model to be 22 cm tall, which I thought would be a good height, but I quickly realized that having small values means having tiny amounts of material near the joints. The joints are therefore quite fragile. Nevertheless, everything fitted perfectly and the design turned out exactly like I wanted it to be.
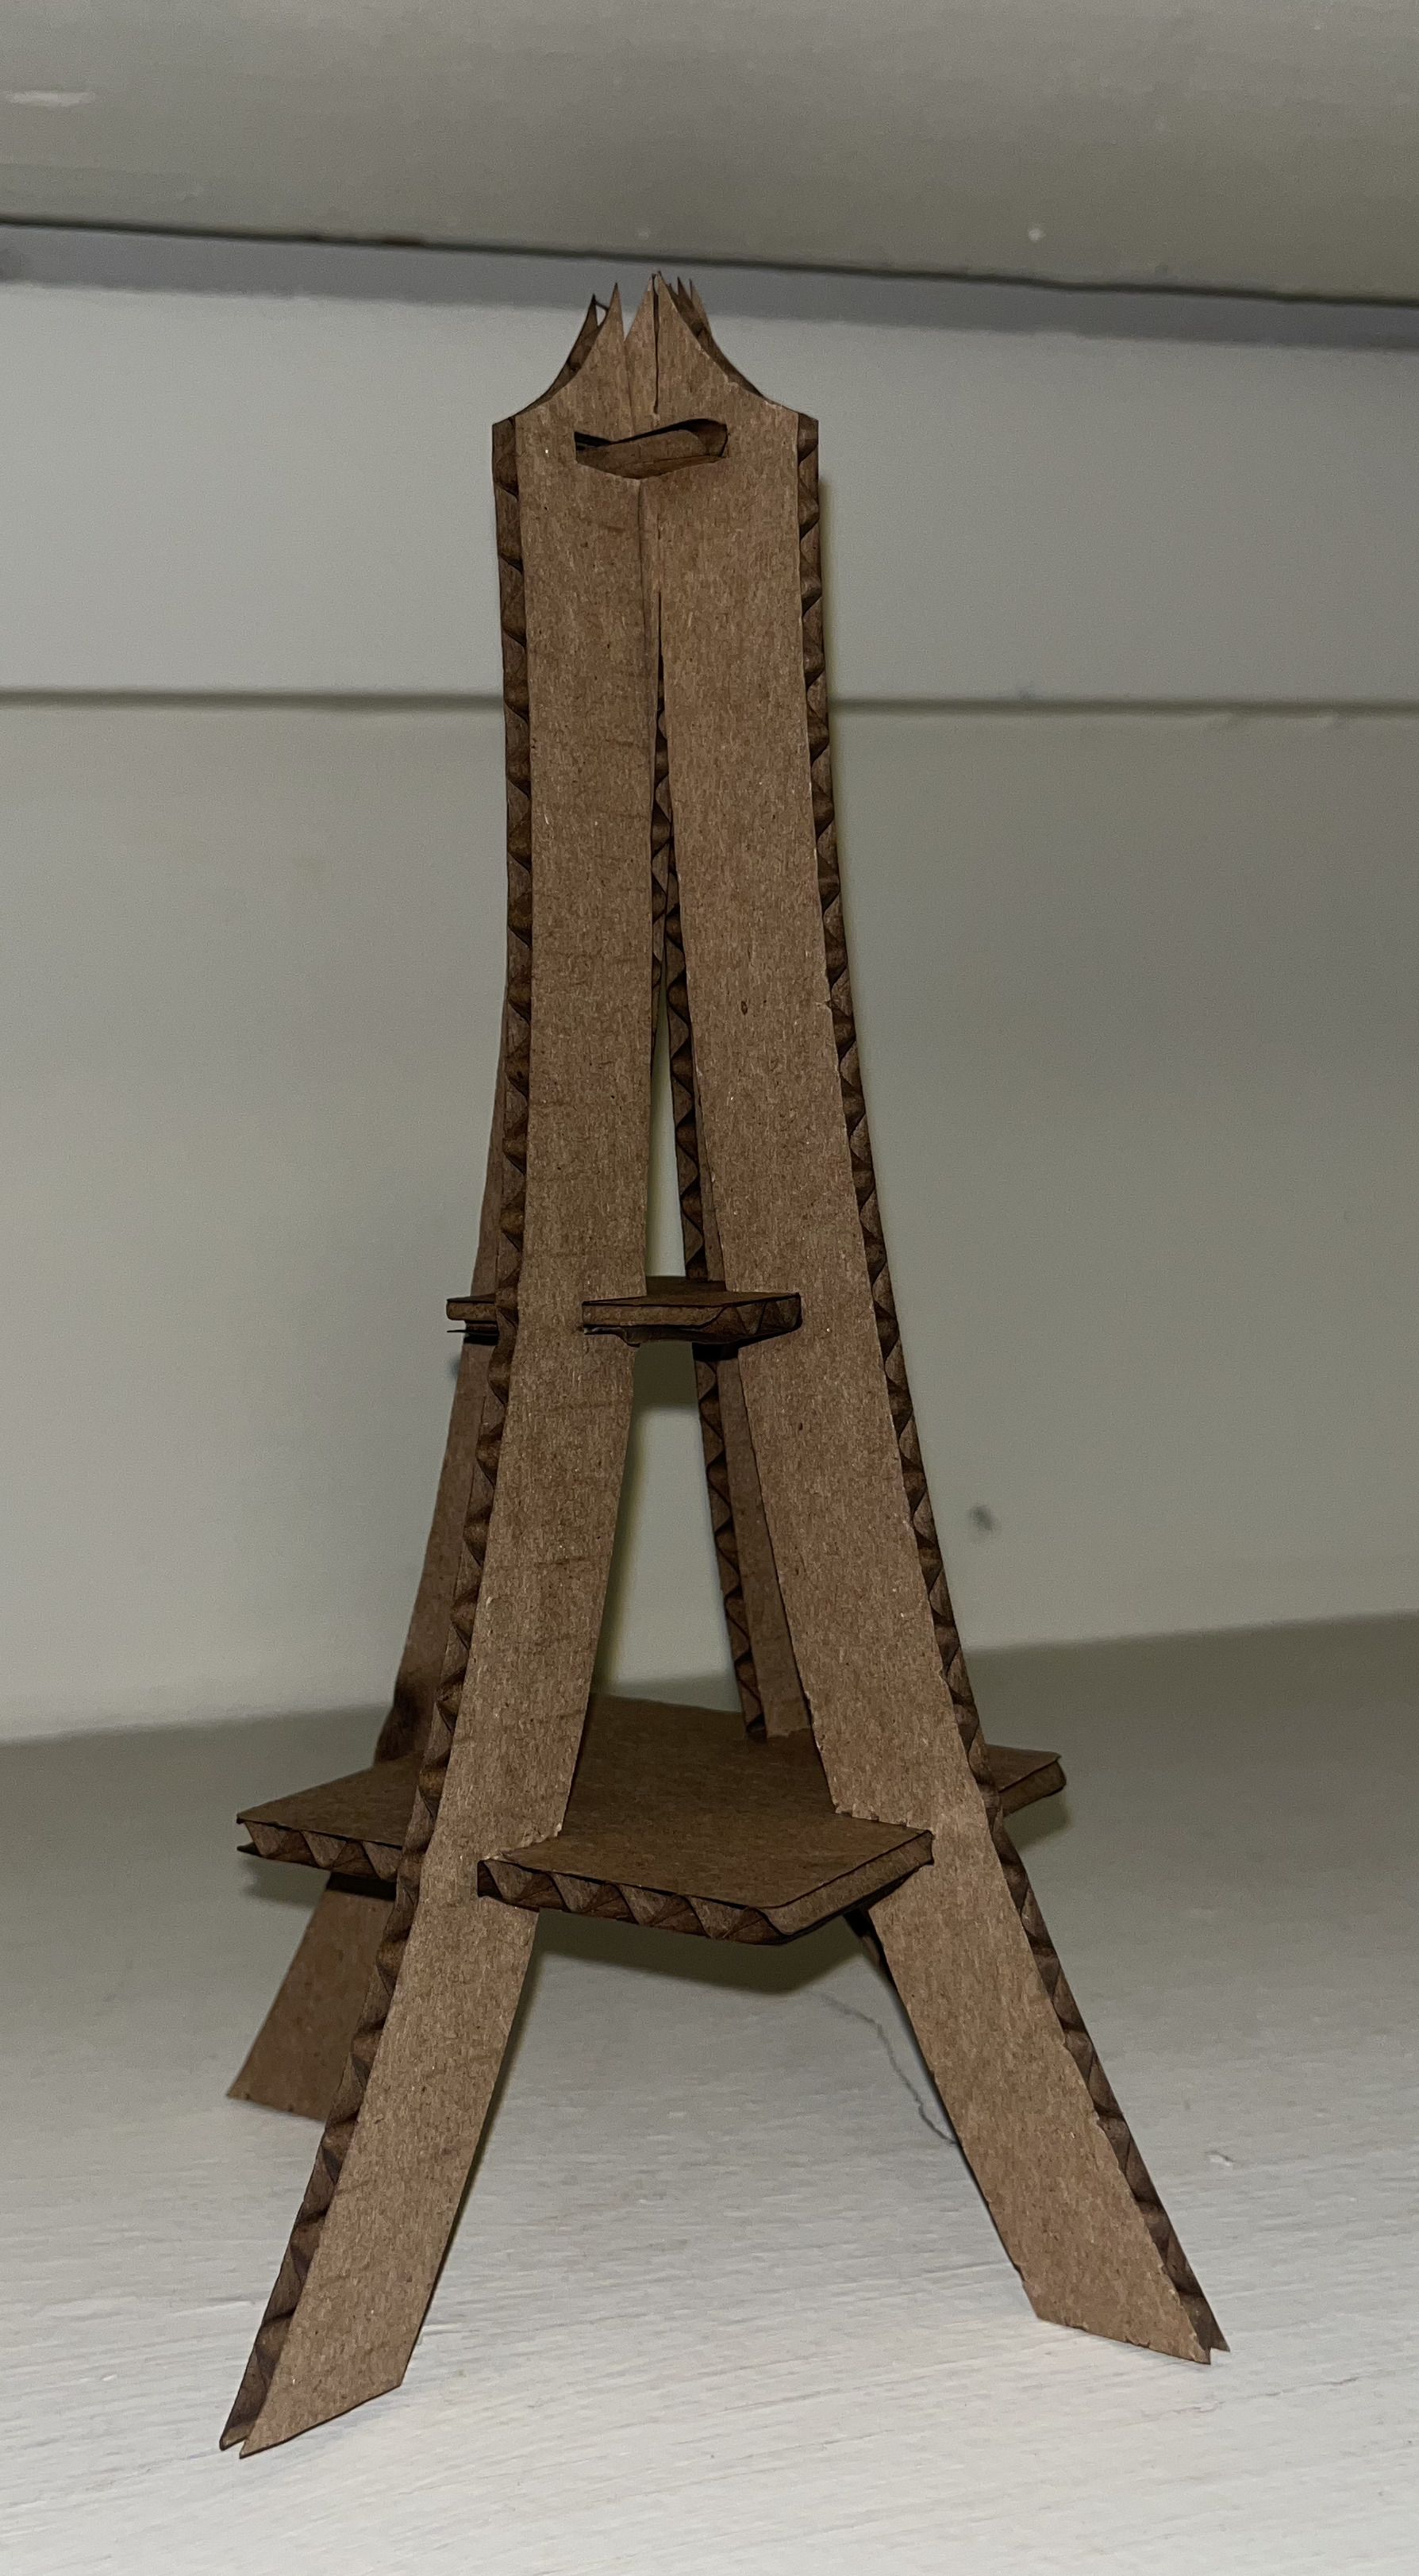
Finished Eiffel Tower
Conclusion
By working on this project, I learned how to use a laser cutter, deepened my CAD skills, and visited Paris! Next time, I will make larger designs and make sure there is enough material near the joints so the structure can be as strong as possible.